
WRITTEN BY: Harrie Phillips
BAdVocEd (VocEd&Trng), RVN, DipVN (Surgical, ECC), DipBus, DipTDD, TAA.

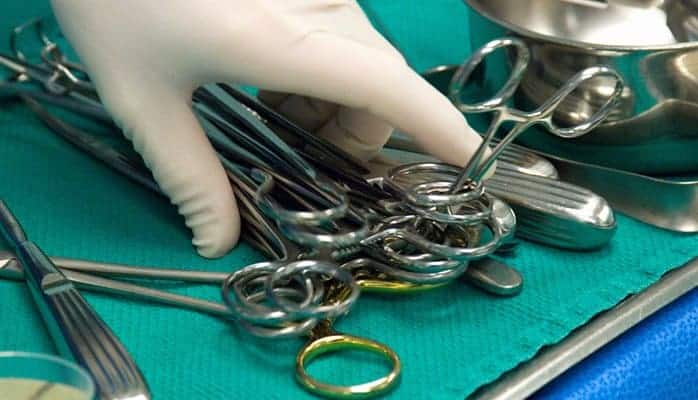
Veterinary Nurses spend a lot of time in theatre and processing surgical instruments for sterilisation. But did you know that how you pack your instruments could affect whether they end up sterile or not? Packaging is a very important step in the sterile supply cycle and requires careful attention. If incorrect packaging or packaging technique is used, instruments cannot be considered sterile and ready for use, or they may become damaged during the sterilisation process.
Instruments, trays and packaging materials need to be handled after initial cleaning in an area that is low dust and low traffic to prevent contaminating particles from being packaged up with the instruments. This is why a packaging workstation should be designed in such a way that the work can be done efficiently and away from the “dirty” cleaning area.
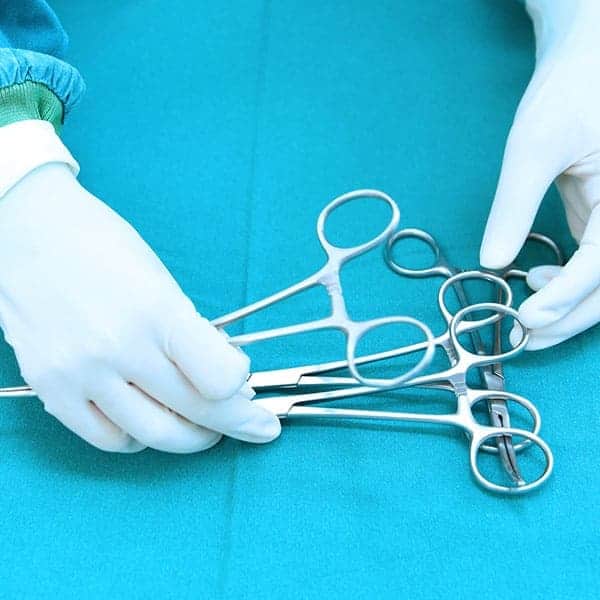
1. Incomplete surgical kits drive vets nuts!
It is a good idea to have pictorial Instrument & Kit Guides, with pictures and listings of all the instruments necessary in each kit for staff to refer to. It is extremely important that staff double-check the contents of each kit to ensure nothing is missing before packing them. Instrument tape is often used to mark instruments that belong to each kit, however instruments can still be accidentally forgotten to be packed! Instrument tape is not actually recommended for use as it can provide a harbour for micro-organisms, and can become brittle after autoclaving, potentially flaking off when inside a patient.
2. What you wrap your surgical kits in is actually very important!
A wide range of materials is available for packaging sterile supplies and surgical kits. Traditionally, packaging materials for sterile supplies were reusable, such as linen drapes. However, due to their inadequate microbial barrier (think of linen drapes like a 5 lane highway for bacteria!), most of these traditional materials no longer meet the requirements for primary (outer) sterile packaging. They may still play a role as a mechanical protection or an additional inner protection layer. It is common to see a combination of textiles, non-wovens, laminated film pouches and paper bags as main packaging materials. Rigid sterilisation containers are now recommended as the gold standard (and can save you a lot of money on purchasing disposable wraps!)
3. How you wrap a kit can affect whether it can be opened aseptically.
When opening a pack containing sterile materials, it is essential that the content is not contaminated. Wrapping techniques have been developed which facilitates this aseptic opening. The most common wrapping techniques for textile packs and instrument sets are the envelope fold and the parcel fold. Once opened, the unfolded wrapper covers the instrument table and thus provides a sterile field. The techniques can be used for drapes of textile, paper and non-wovens.
4. Never use masking tape to seal packs (and by the way, Autoclave tape turning colour does not mean your kit is sterile!)
Autoclave tape is the recommended closure for wrapped sets. Masking tape should never be used because it was not intended to be sterilised (the glue is not designed to get wet!) and will not differentiate a kit that has been in an autoclave from one that has not. Use as little tape as possible so the end user can easily get into the package; excessive tape can hamper correct opening of the kit. Not enough tape may allow the set to open up prematurely.
5. When wrapping in pouches, ensure the handles face the opening for the vet!
When you peel open the pouch in theatre, the vet should be able to grab the handles straight away. You don’t want scissors to pierce the gloves!
6. Multipart instruments should be double wrapped!
Double wrapping, or wrapping into two pouches, has an advantage in the aseptic presentation to the surgeon. When presenting to the surgeon, the nurse opens the outer layer and the surgeon takes the inner layer. This is especially helpful for instruments that have multiple parts (as multiple-part instruments should be sterilised apart).
When double wrapping, you must ensure that you use two different size bags, one smaller than the other, and have them so the inner pouch’s paper side is on the paper side of the outer. This is because the passage of steam goes through the paper and not the plastic. If you had paper to plastic, the steam would not reach the instrument.
It is not always practical or economical to keep a lot of sizes of pouches in your clinic. You can fold over some edges of the inner bag, however never more than a third of the bag. This is because you are folding a plastic layer over the paper, and hence impeding the steam. If folded in half for instance, there would be no easy passage for the steam to get to the instrument, as it would be surrounded by plastic.
7. How you place an instrument in a kit or bag WILL affect whether it is sterile.
You have to consider the layout of the instrument in the bag (or kit). Remember steam must contact all surfaces for the instrument to become sterile, so multiple-part instruments must be packaged separately. What is most important is that all surfaces of a single item can come into contact with steam. For instance the cutting blades of scissors are occluded by each other if the scissors are left closed. To combat this, leave the scissors open when packing. Placing an instrument tip on the scissors can help ensure that they stay open during sterilisation. You also do not want the instrument to put pressure on the edges of the bag, so ensure you select the correct size. Pressure on the side of a bag can cause it to open prematurely, rendering it non-sterile. Also, remember it helps the vet greatly if you have the handles facing the peel open part of the pouch!
8. Correct sealing of bags is essential!
Sealing the bag correctly is crucial. It is common to see pouches, especially self-seal, with incorrectly sealed ends, which means that the contents are NOT sterile. Self-seal pouches have an adhesive layer on the base which must be folded up and MUST make contact with both the plastic AND the paper to ensure it seals correctly. To help this, fold along the base of the adhesive strip before removing it; this way the fold is in the correct place to ensure the bag seals properly.
If taping is used, double fold over the ends, then tape along the bottom and around the bag at least 3 cms.
9. Don’t reuse single use laminated pouches, bags and wraps!
Never re-use pouches, bags or single use wrapping materials. The sterilisation process places enormous stress on the bag, and putting it through the autoclave again will weaken the bag further and lead to formation of holes. These holes may not be visible to the naked eye. Anything packaged in a re-used bag should not be considered sterile.
10. Be wary of where you label and what with!
When labelling wrapped kits and paper bags, writing should always be done on autoclave tape, not on the packaging material. For laminated pouches, it should be on the plastic or sealed end, NOT on the paper (As the ink can leech onto the contents, and you may place a microhole in the packet). Non-toxic markers that will not bleed or smear are to be used, and ideally you should use sterilisation markers as their ink is designed for the autoclave. Lead pencils or ballpoint pens are not recommended as they perforate the packaging material and may also contain toxins which can be transferred to the patient.
want to learn more?
INSTRUMENT CARE & STERILE SUPPLY
SHORT COURSE
Get the right information for instrument handling and processing to ensure your clinic is processing these vital tools in line with the Australian Standards and best practice recommendations. Surgical Instruments are expensive and it’s common to see bad or outdated practices in the clinic that can negatively affect the life of the instruments as well as sterility. Whilst it may sound basic, it’s not! You’ll learn how to process instruments correctly, pack, wrap and autoclave kits to ensure their sterility and learn appropriate storage processes. Remember, sterility has nothing to do with time, it’s about events.
Check it out