
WRITTEN BY: HARRIE PHILLIPS
PGCertClinEd, BAdVocEd (VocEd&Trng), RVN, DipVN (Surgical, ECC), DipTAE (Development & Design), DipBus, TAA, MACE

Proper clipper blade care is essential not only to prevent trauma to our patients (clipper rash is not comfortable and can impede healing), but is an essential component of infection control as well. It’s often overlooked or rushed, because, well, we’re busy.
When I was a ‘baby’ vet nurse, one of my jobs at the end of each day was to clean off all the clipper blades with a toothbrush, run in blade wash, then let dry overnight on some paper towel, ready for the next day. Granted, this was quite a while ago, but when I’m in various practices consulting on other nursing aspects, I still see some pretty bad clipper blade care techniques out there. Our poor clippers seem to run second fiddle to most other equipment care and maintenance that we do as veterinary nurses.
Hair is the enemy of oil. It soaks it in and removes it from the running surfaces of your blades. This increases the friction, and therefore the heat.
Here’s some things we’re often doing wrong by our clipper blades, along with what we should be doing.
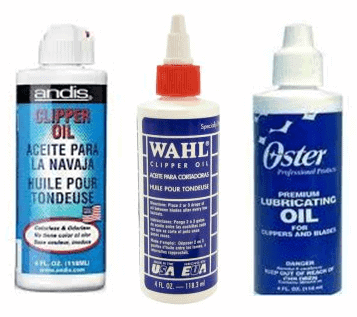
1. We do not oil enough.
When we’re using clippers, we should be oiling the blades around every 10 minutes of use. Don’t believe me? – have a read of the instruction manual or talk to any groomer. Easy peasy to do if we’re clipping for a spey or castrate. That takes no more than 10 minutes, so we can ensure they’re cleaned and oiled before the next patient.
What about longer and larger clips? Like ortho surgeries. When was the last time you stopped every 10 minutes or so, brushed off the hair and reoiled? (Insert sound of crickets).
Oil on the blades performs a really important function. It provides lubrication ensuring the blades not heat up as much due to friction. When the blades get hot, they ‘burn’ on the hair and dander. This builds up and blunts your blades (you’ll see it as reddish-brown deposits, especially between the teeth). Blunt blades do not clip efficiently. They snag and drag, cause clipper rash, and make it harder for the clipper motor to work. Your clippers won’t have a long life if the motor has to work too hard too often.
Every 10 minutes of use, stop, remove the bulk of the hair, and oil the blades.
2. We’re excited when new blades arrive and pop them straight into use.
What we should be doing is running them in blade wash to remove the rust protective coating they are shipped in. To do this, pop on some PPE (blade wash is similar to car brake cleaner – evil!), pop your blades onto the clippers. Place your clipper blade flat into the blade wash and start running. It’ll start out sounding low in pitch, then as the rust protective coating is removed, it’ll get higher. When it stops increases in pitch, you’re done! Don’t forget to oil.
Clean all new blades in blade wash, dry, then oil prior to first use.
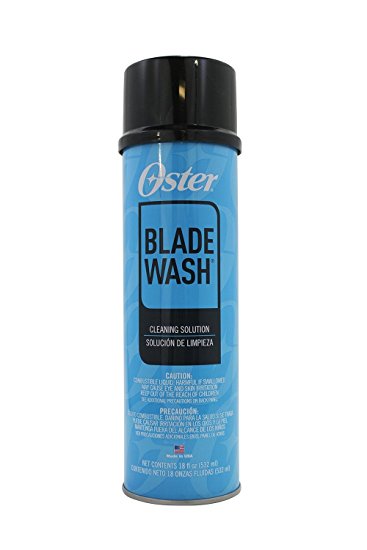
3. We think blade wash is a lubricant.
It’s not. It’s a cleaner, it strips off the oils. If it’s left on, it also attracts hair to accumulate more. Hair is a problem. See above.
After using blade wash, remove the blades from the clipper and wipe off all the excess blade wash with a lint-free towel. Leaving your PPE on of course! Then oil the blades.
Blade wash is not a lubricant. Say it with me!
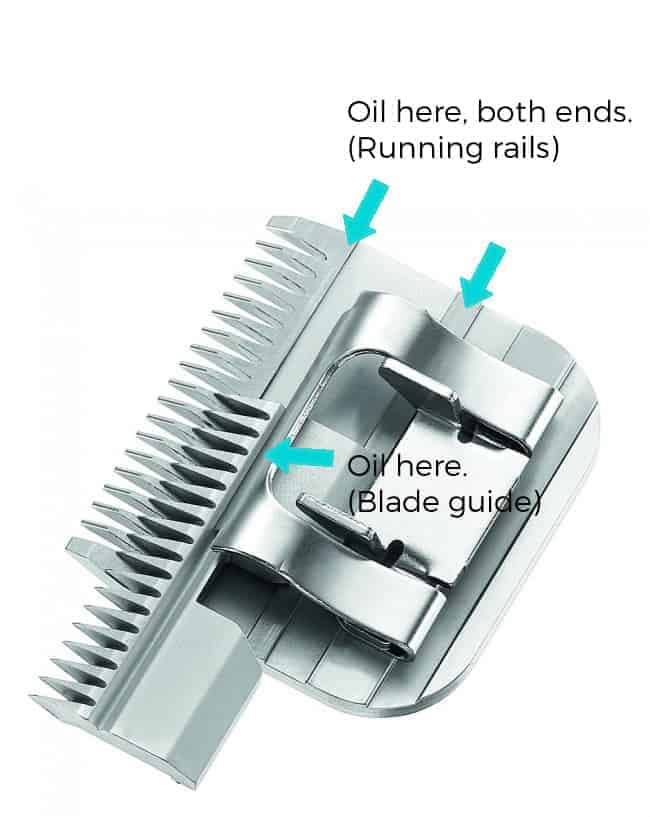
4. We oil the blade by dripping oil along the teeth.
This is also bad. By doing this we’ll end up with bits of hair being stuck between the teeth, which in turn will make them grab or even jam up the blades. It’ll also suck the oil off where we need it – the running rails of the blades.
To oil, you’ll need to slide the bottom cutter plate to the side, and place one drop of oil onto each running rail. Slide back the other way and repeat. You only need a teeny drop of oil at each point, don’t go crazy. Also, pop one drop onto the area the blade guide runs along. Slide the cutter back into place and then pop onto your clippers and run for a few seconds.
Some blade gurus say you can also pop ONE drop of oil into the middle of the cutter blade teeth before running. See what works best for your clipper blades.
Move the bottom cutter plate, oil the running rails, not the blade teeth.
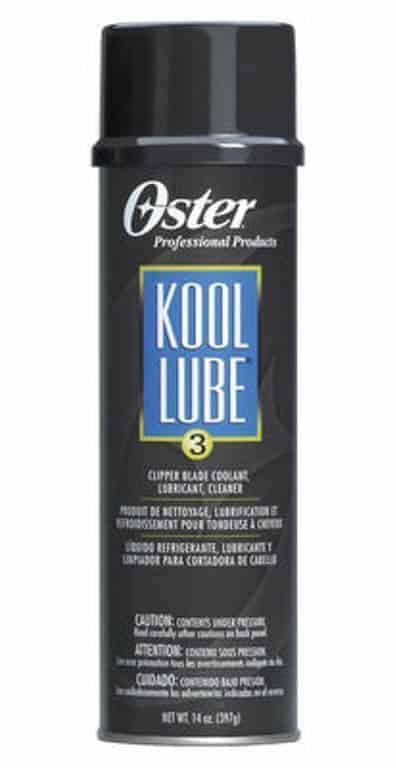
5. We use cooling sprays on longer clips.
We do this because the blades heat up. They heat up because there’s hair sucking the oil off. That’s if we are oiling at all!
Some of these cooling sprays are also marketed as a lubricant. But there is very little lubrication in them. They often say to use clipper oil in conjunction with them. You’re also not meant to spray the teeth with the cooling spray, but often we do. Lastly, many are solvent based so they have ingredients in them that can remove oils from the blade. No oil = heat. So, we spray again, and again, and more often as they keep heating up. Heat is bad. See above.
They are also made of some pretty nasty chemicals, so PPE is a must, along with a well-ventilated room. Check the Safety Data Sheet (SDS) of the product you’re using and the manufacturer’s instructions.
Keep your blades well oiled, and change the blades mid clip if it’s a long clip.
want to learn more?

SURGICAL NURSING
SHORT COURSE
Starting with admission and documentation requirements, you’ll soon dive into the more fun aspects such as patient and surgical skin preparation. You’ll learn about theatre attire and etiquette, setting up and proper cleaning of theatre, suture materials and intraoperative tasks. This course will ensure you have the right underpinning knowledge to work as a surgical nurse in your clinic and be helpful to the vet whilst providing amazing patient care. You’ll cover the basics of scrubbing in to assist and learn about a lot of different surgical procedures and their requirements such as orthopaedic, abdominal, ophthalmic and others.
Check it out