
WRITTEN BY: HARRIE PHILLIPS
PGCertClinEd, BAdVocEd (VocEd&Trng), RVN, DipVN (Surgical, ECC), DipTAE (Development & Design), DipBus, TAA, MACE

Nutrition is vital in recovering patients, and recovery periods can be dramatically shorter if a patient is fed adequate nutrition. Tissue synthesis and wound healing depend on local and whole body nutrition.
A feeding tube may be placed when a patient is inappetent, is undergoing a procedure on part of the digestive tract, or has a disease process occurring that inhibits them from eating normally.
FEEDING PROCEDURE
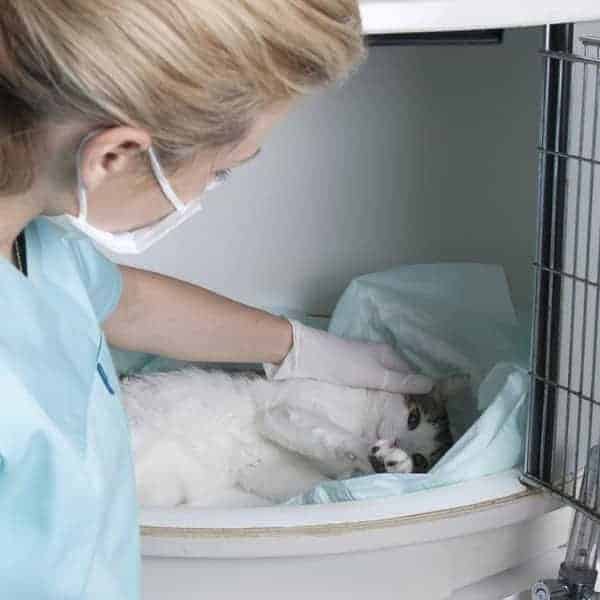
1. Stoma Care
Unwrap the tube, using an aseptic technique (wearing gloves too), and inspect the stoma for any signs of infection, inflammation or cellulitis.
The stoma of surgically placed feeding tubes should be checked daily for signs of infection, cellulitis and/or thrombophlebitis. It should also be cleaned aseptically with some sterile saline. Some vets may prefer you use a dilute iodine solution.
For NG & NO tubes, check around the nares for signs of discharge and clean appropriately.
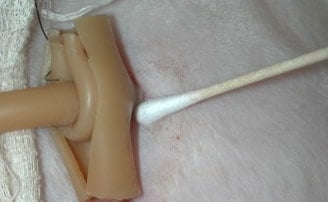
Photo Credit: Animal Surgical Center of Michigan.
2. Flush the tube
Undo the clamp and flush the tube with warm water (amount will depend on type and size of tube used). Reapply the clamp before removing syringe.
FOR G-TUBES: Before feeding, aspirate the tube (note and record residual volume, if more than 20% of the volume administered previously, return the liquid to the stomach and delay feeding).
3. Administer warmed diet
Patients should be slowly weaned onto their full energy requirements (the RER). Plan for day one to administer 33% of RER, across 4 to 6 feedings. Increase this on day two to 66% and full RER on day three. Patients who have unable or unwilling to eat for a prolonged period are at an increased risk of developing electrolyte abnormalities when feeding does commence (refeeding syndrome) and may require a longer schedule to build up to full RER and increased monitoring. Once full RER is reached, the patient may be reassessed to determine if their caloric intake needs to be adjusted.
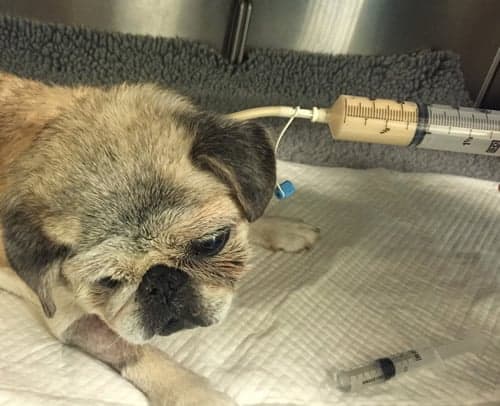
Elevate the head so its above the shoulders to help avoid regurgitation (plus gravity will help you get the food to where it needs to be!). Unclasp the feeding tube. Administer warmed diet slowly, to allow for gastric expansion, over 5 to 10 minutes. Always reclamp the tube when refilling the syringe and at the end of the feeding.
Monitor for signs of nausea and immediately stop administration if they occur (look for salivating, gulping, retching) and notify the vet. Feeding may resume once the nausea is under control.
If vomiting occurs, stop the feed and notify the vet. Tube placement will have to be checked.
4. Flush tube
When feeding has finished, flush the tube with warm water. Remember, always place the clamp on when there is no syringe attached to the feeding tube.
Replace clamp and recap tube.
5. Protect the stoma & tube
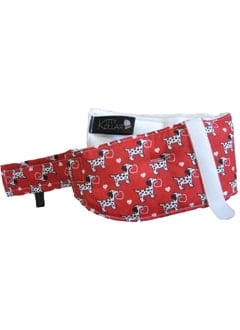
Wrap the tube for patient comfort and to inhibit damage to the tube and stoma. There are commercial feeding tube wrap systems (Kitty Kollar & Kanine Kollar – available from Sound Veterinary) however a combination of orthopaedic passing and a self cohesive bandage can work well.
Using a tubular bandage is another way you can ensure the tube and stoma site are protected.
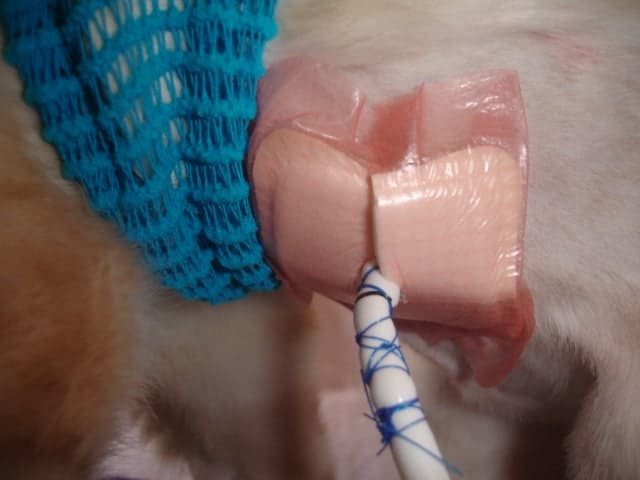
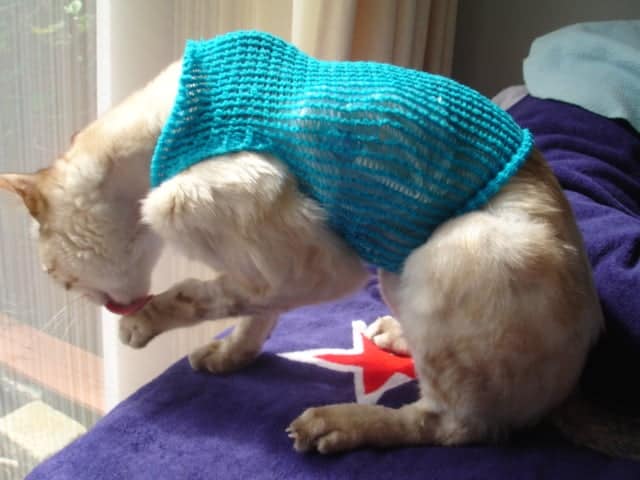
LEFT: Stoma site covered with dressing. RIGHT: Tubular bandage used to secure tube.
Photo Credit: Bengal Cat Forums
DEALING WITH FEEDING TUBE BLOCKAGES
Clogged tubes will affect your feeding schedule and measures to prevent clogs from occurring should be undertaken. If a tube cannot be unblocked, it can be a costly and time-consuming exercise to replace them.
Most blockages occur by inadequate flushing before and after feedings, or the food not being made into the appropriate consistency for the tube size. Inadequate crushing and slurrying of medications administered via the tube can also cause blockages, as can not flushing before and after administration.
Obviously, the smaller and longer the tube, the more likely it is to block. Blockages are also common when performing CRIs if the nutritional formula is allowed to run out, as it will ‘dry’ in the lines.
Nutritional formula CRIs should still be flushed with 30mLs of water every 8 hours, or more if indicated for hydration needs.
Before assuming the tube itself is blocked, reposition your patient in case the tube has formed a kink.
Warm water (20 to 30mLs) via a large syringe (preferably 60mL syringe) is the first choice to clear a blockage. Gentle pressure should be applied until the blockage has cleared, using a gentle pulsing action. Using a larger syringe ensures that the pressure is not too great (too much force can rupture a tube and smaller syringes produce more force).
In the past, there have been recommendations to clear blockages using cola, cranberry juice or other acidic liquid or even meat tenderizers, however it has been shown that these liquids are no more effective than water and in fact denature the proteins of the enteral formula/food, which will increase the chances of causing further blockages.
Filling the tube with warm water, reclamping and letting sit for 20 minutes, before attempting to flush again can also be effective.
For stubborn blockages, a small gauge stiff urinary catheter (such as a Buster Dog Urinary Catheter) can be passed into the tube to the occlusion, with water flushed through the catheter as it advances. This can help dislodge and flush pieces of the blockage back out the external end of the tube. Before inserting you need to measure and mark the length of the feeding tube onto the urinary catheter to ensure that you will not poke the catheter out the tube end. This could damage the tube, or worse, cause injury to the patient. Place a kidney dish or bowl under the tube end to catch the flush.
Once the blockage is cleared, flush the tube as normal before commencing feeding.
want to learn more?
ADVANCED CRITICAL CARE NURSING
SHORT COURSE
For those wishing to gain the ability to manage more difficult medical cases or post medical condition surgical procedures. You’ll learn all about nursing care plans, a method by which individualized care can be provided for your patients to aid in their recovery and management. Following on from this, you’ll cover specific nursing interventions that you can undertake. Urinary system and catheters are discussed in detail, along with other supportive nursing interventions such as oxygen therapy, nutritional support including feeding tubes and the management of tracheostomies. Critically ill and recumbent patients need a higher level of care and attention, learn about the necessities for managing those patients as well as best methods of transportation.
Check it out