
WRITTEN BY: HARRIE PHILLIPS
PGCertClinEd, BAdVocEd (VocEd&Trng), DipVN (Surgical, ECC), DipBus, DipTAE (Development & Design), TAA
PUBLISHED: 6 MARCH 2018
REVIEWED/ UPDATED: 16 OCT 2025

The Modified Robert Jones Bandage is used most commonly used post-operatively to provide compression in the short term. These are temporary bandages, and are not designed to stay on for more than a few days.
99% of these Modified Robert Jones bandages were placed on our post-op cruciate patients. Our patients spent 2+ days in hospital after their surgery, and the bandage was in place for this time. Mostly, it was removed at discharge and the patient did not go home with a bandage.
I took any opportunity I could to ensure that some form of physical therapy was initiated whilst still in hospital. Cryotherapy was often applied prior to the bandage being done (unless the patient was hypothermic post op). Any bandage change that was necessary through their stay, I’d get in there and do some massage, passive range of motion, and cryotherapy.
Post-op, Physical therapy on the affected limb is important for healing. Bandages can inhibit this, so should be removed as soon as possible to enable physical therapy to begin.
Here’s how to place the perfect modified robert jones bandage.
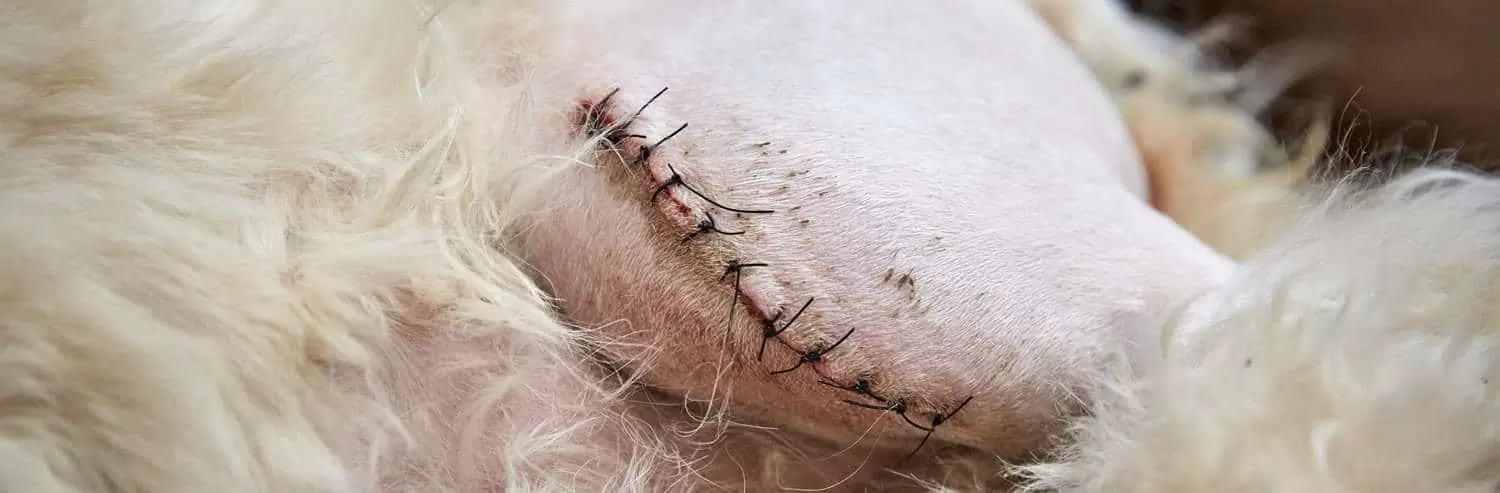
1. Prepare the limb and wound
Make sure the limb is thoroughly dry. Trapping excess moisture under the bandage can encourage bacteria growth as well as damage the skin through maceration.
Apply your primary layer to the wound. If you have a nice clean surgical incision, you’ll just need to apply a simple dressing. A primary dressing of Askina® SilNet (B Braun) or a low-adherent absorbent dressing such as Melolin (Smith & Nephew) with Hypafix® (BSN Medical).
If you have a wound with excessive exudate, is too dry, or has other factors that could impede healing, you’ll need to factor this into your dressing selection.
2. Place your stirrups.
Using an adhesive, but non-stretchy tape, about 1 inch wide (I love Leukoplast® by BNS medical, the non-stretchy one), run two stirrups on the distal third of the limb (one medial and one laterally). Ensure you do not cover the wound or the primary dressing layer with these.
Leave the ends hanging off the limb for now. You’ll use them to help secure the bandage later.
Pop a tongue depressor between the two stirrups to help stop them from sticking to each other and everything else.
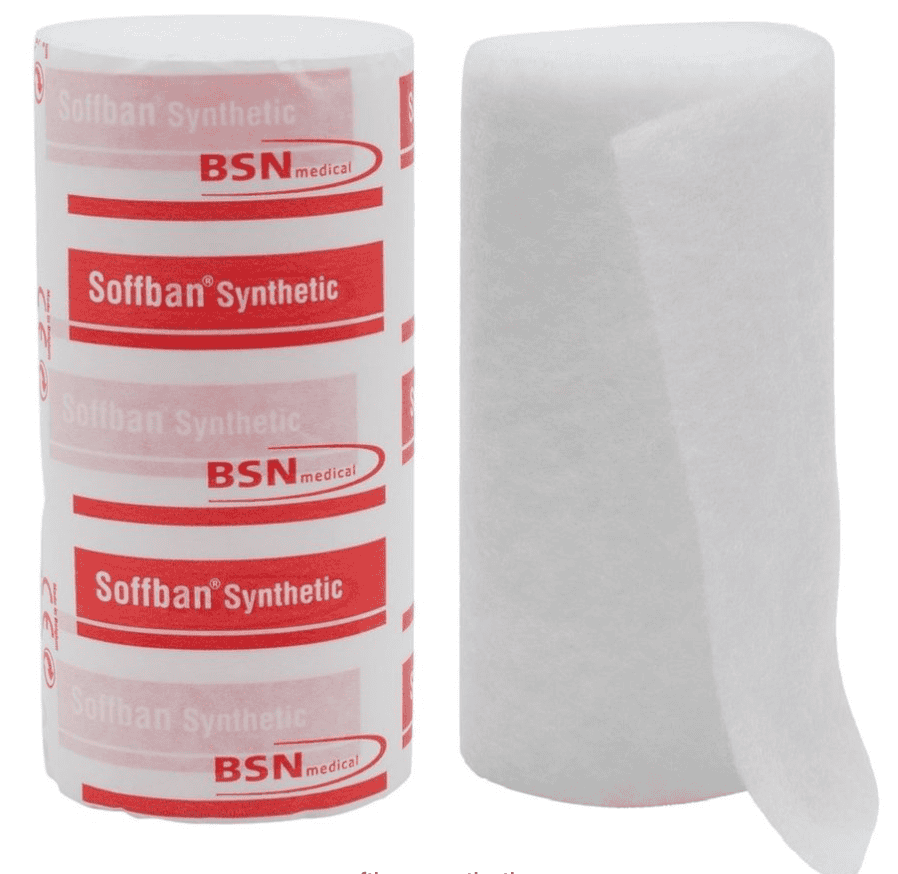
3. Get padding.
Start your secondary layer of the bandage using something that provides padding for comfort. Popular choices include Askina® Soft Pad (B Braun) and Soffban® (BSN Medical). Unlike a full Robert Jones, which is designed to immobilise, we only need a small layer for comfort.
Starting distal (at the toes) wrap methodically, outward then inward, neatly up the leg, until you are proximal to the joint above the wound. Leave the two middle toes showing to allow for checking for the presence of moisture and the bandage pressure. Ensure you pull this layer flat (but not tight as it’ll tear) and do not have wrinkles in it. Wrinkles, when compressed under the tertiary layers) can irritate your patient. Irritated patients will chew at their bandages.
You should overlap your bandaging by about 50% each time.
Some vets and nurses prefer to place some padding between the toes. This is personal preference. If a patient is particularly boney, I’ll often use some cotton wool or padding between the toes if the bandage is on for several days.
Always move distal to proximal, and overlap by 50%.
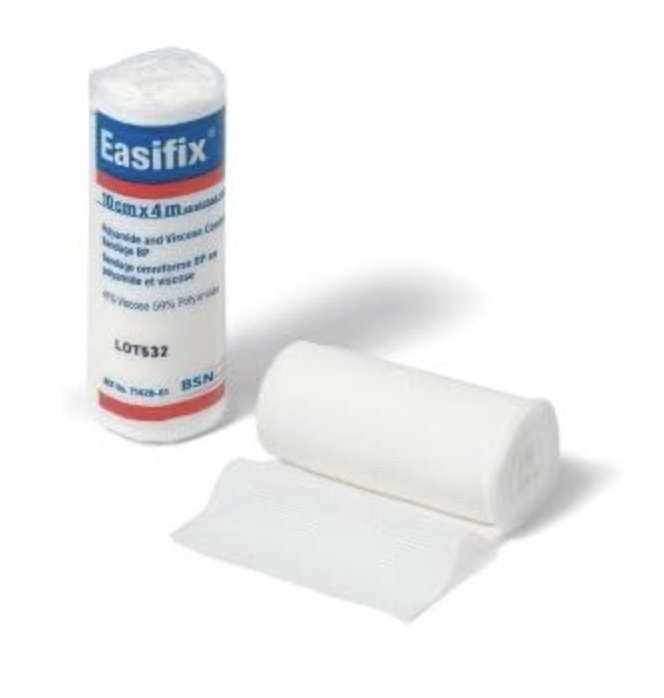
4. Use conforming bandages to get a wee bit of compression going
Next we want to get apply a layer that adds compression. To achieve this, we use a conforming bandage. I prefer to use a non-adhesive conforming gauze bandage. This allows me to adjust the pressure if needed, as I wrap, without having to undo sticky layers. Options include Easifix® and Handyban (both BSN Medical).
Again, work distal to proximal, with a 50% overlap, and cover the entire padding layer.
Some vets and nurses prefer to go straight to the adhesive conforming layer next.
Pressure wise, you should be able to get your little finger under either end, but no more. Not enough pressure, and the bandage is not doing what it’s designed to do and will slip. Too much pressure and you risk restricting the blood and lymph flow in the limb.
Now it’s time to flip up the stirrups. Turn them around so they are sticky side against the bandage and smooth them down. If you have these anchored right, you won’t need to apply a top cohesive bandage against the skin.
If you have either applied too much bandage or the application was uneven, the bandaged limb will not look anatomically correct. Remove and reapply.
5. Protect that bandage
After we’re happy with the pressure of our bandage, it’s time to start the tertiary layer. Using a cohesive and conforming bandage, apply a new layer using the same distal to proximal, 50% overlap method. Bandages such as Askina® Plast-E (B Braun) or Tensoplast® (BSN Medical) are great options.
Keep this layer neat with no wrinkles, again, wrinkles will irritate your patient.
If needed, you can use this layer to get a little more compression. If you didn’t use the previous layer to provide the compression, you will need to get your compression here, following the same one finger rule as above.
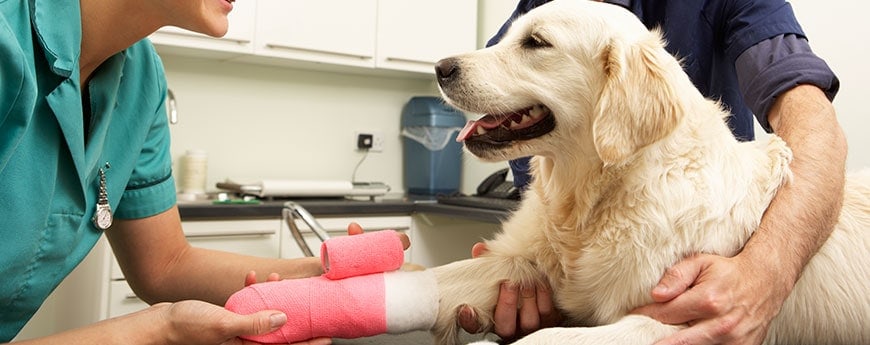
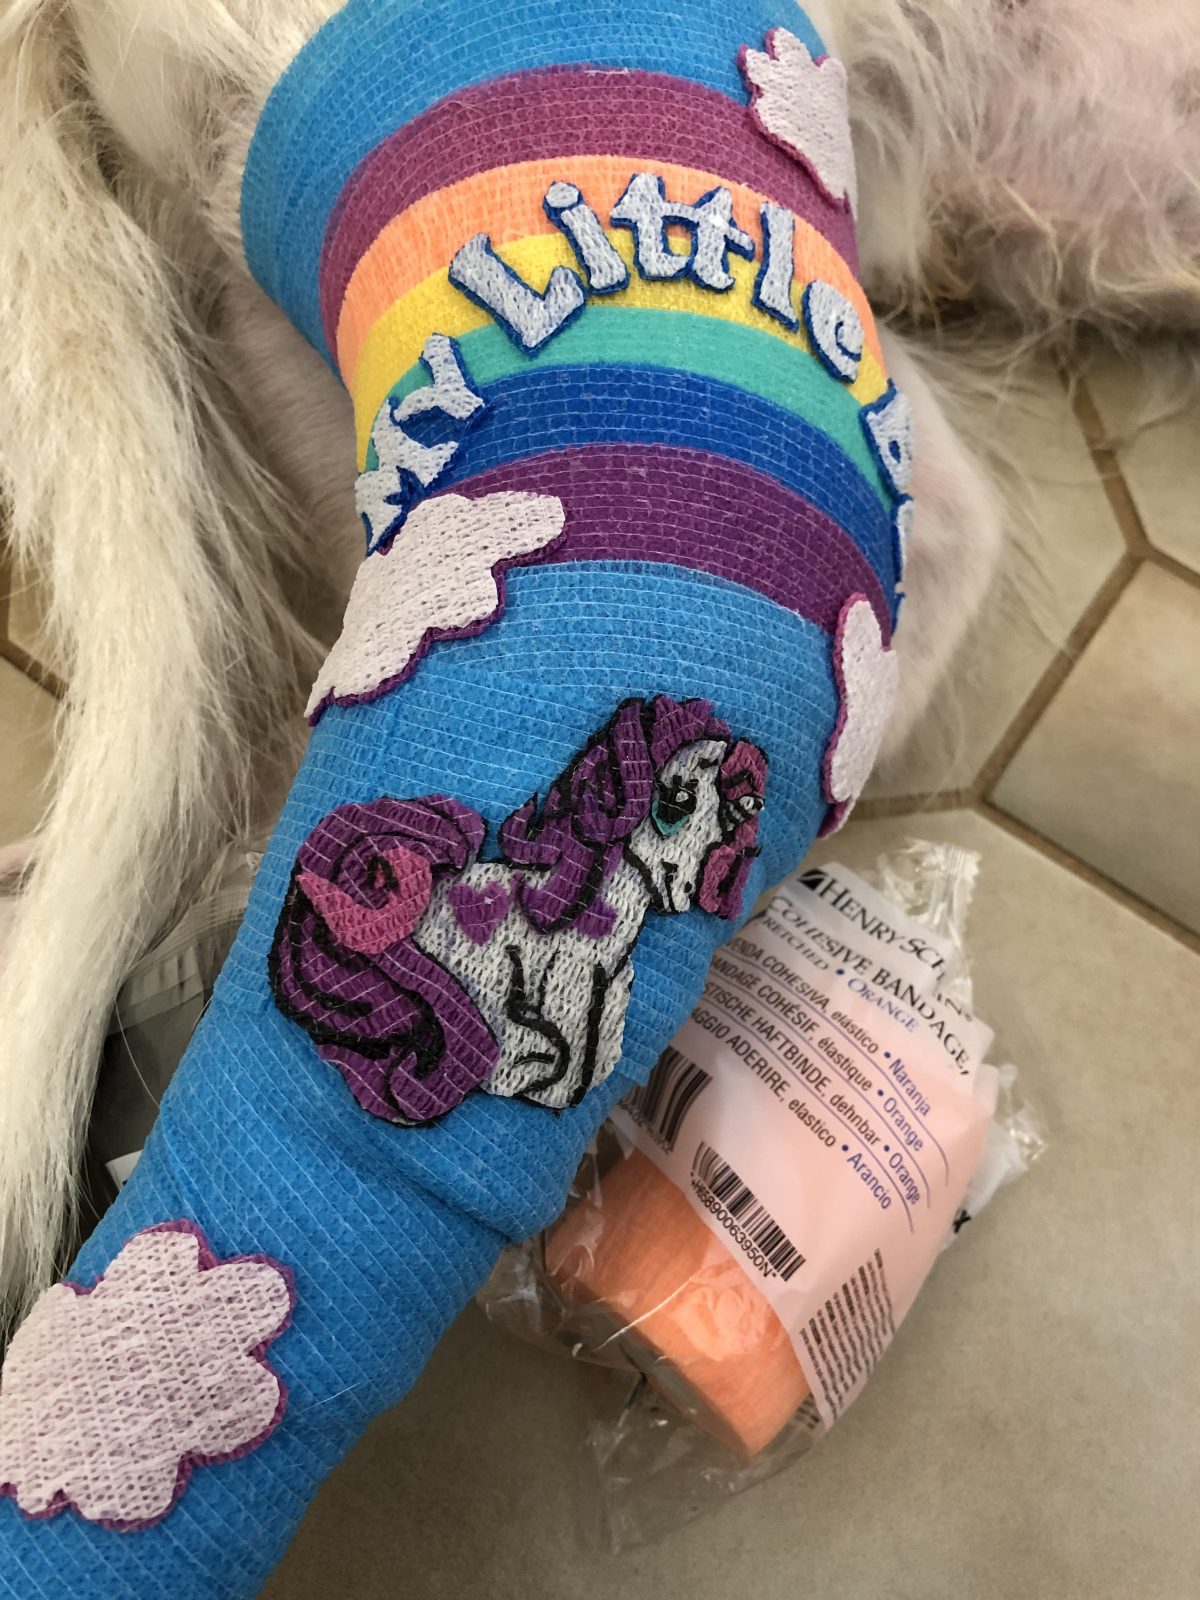
You’ll often see vets and nurses use a self-adhesive conforming bandage for this layer, such as Co-Plus® (BSN Medical), Cohesive Bandage (Henry Schein) or VetrapTM (3M). These bandages can trap in moisture, so I prefer to not use them along the entire bandage. Instead, I use them on the distal third as an easily removed protective layer. They have the added bonus of making the bandage look a bit pretty!
This way, when the paw is dirty, owners can remove the dirty layer and replace with a new clean layer.
want to learn more?
Wound management
SHORT COURSE
Wound Management is an area that nurses can be actively involved in. This short course will teach you about the integument system; the physiology of wound healing; different dressings and bandages (both techniques and materials), which to use when; and how to decide on a wound care plan in conjunction with the veterinarian.
Check it out